Ultimaker Cleaning Filament
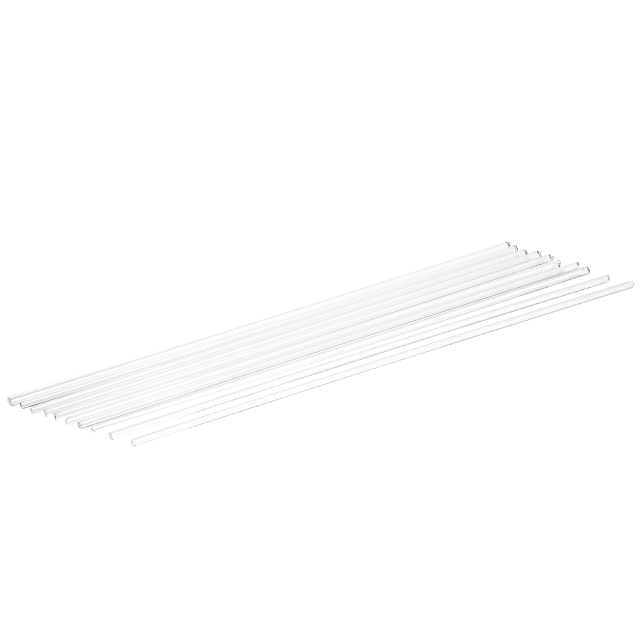
Keeping a clean print core for your Ultimaker 3 is vital to your success, and here is a filament specifically designed for performing hot and cold pulls to remove any unwanted debris from inside the print core. This filament is compatible with both sizes and styles of Ultimaker 3 Print Cores.
KEEP YOUR PRINT CORES CLEAN!
Having a clean print core is essential when operating the Ultimaker 3 3D printer. The best method for cleaning is utilizing both hot and cold pulls of the hotend. This cleaning filament is perfect for collecting all the debris that may be hiding in the print core and it's clear color makes it easy to see when material is being removed and when the print core is completely clean.
HOW TO USE THE CLEANING FILAMENT WITH AN ULTIMAKER 3 PRINTER:
The Ultimaker 3 has a Print Core cleaning procedure built into the firmware and can be access through the System -> Maintenance -> Print Core Cleaning path. The machine will guide you through the process, but here is the procedure:
- Unload any filament in the Print Core
- Remove the bowden tube from the toolhead
- When the Print Core is heated, insert the cleaning filament until you feel resistance. Apply pressure for a few seconds to ensure it's firmly seated in the hotend
- With a quick motion, pull the filament back up out of the print core - any debris inside the nozzle will be attached to the end
- Repeat this process until the filament comes out of the print core clean and you are ready to get back to printing. This process can be completed with the Print Core either hot or cold.
HOW TO USE THE CLEANING FILAMENT WITH OTHER ULTIMAKER PRINTERS:
The Ultimaker Cleaning Filament can be used on other Ultimaker Printers by applying the Atomic Method. The Atomic Method can be used to unclog the nozzle of your Ultimaker. It will clear the blockage by pulling dirt or carbonized material out of the nozzle from the top side. To apply the Atomic Method you don¢‚¬t need to disassemble the print head or hot end, which makes it very easy to use this method.‚ This method can be used on all Ultimaker 3D printers, except the Ultimaker 3 (Extended).‚ If you have an Ultimaker 3 or Ultimaker 3 Extended, follow the procedure above.‚
- Remove the material from your Ultimaker.
On an Ultimaker 2(+) go to Material Change and select Cancel after you have removed the material.
On an Ultimaker Original(+), you go to Control Temperature Nozzle and set the temperature, after which you can remove the material. - Remove the bowden tube
- Remove the clamp clip that is placed around the bowden tube on top of the print head.
- Press down the tube coupling collet and pull the bowden tube out of the print head. - Heat the nozzle of your Ultimaker to the temperature of your last used material.
On the Ultimaker 2(+) you go to Maintenance Advanced Heatup nozzle
On the Ultimaker Original(+), manually heat up the nozzle via the Control menu
- Cut off approximately 20 cm of filament (of your last used material) with a straight cut and try to straighten it as much as possible.
- Wait until the nozzle has heated up and then insert the piece of material in the print head, all the way down into the nozzle.
- Push the material slightly until it either comes out of the nozzle or cannot be pushed any further. - Remove the material
- Lower the temperature to 90‚° C for PLA. For ABS you will need 110‚° C.
- Wait until the temperature is reached and then pull the material out with a quick, firm pull.
- Check the color and shape of the tip of the filament. The goal is to have a clean, cone-shaped tip.
- Repeat the steps - Heating up and preparing and Removing the material until the filament comes out without any residue and has a cone-shaped tip.
- Note: It is important to pull the material out quickly. If you pull it out too slow, the filament will stretch. - Re-assemble:
- Insert the bowden tube in the print head, all the way down into the white coupler.
- Place the clamp clip around the tube coupling collet, so that the bowden tube is secured.


